
How to test Stripe webhooks locally with Laravel, Homestead, and ngrok
Andréia Bohner • June 19, 2021
stripe webhook laravelTo be able to test Stripe webhooks locally, we need to expose our local app to the internet. We can do this using tools like ngrok or Stripe CLI.
When using Laravel's Cashier (or Spark) together with ngrok, this integration works like a charm! We are going to see how to set up everything in this tutorial. Let's dig in.
Configuring the webhook on Laravel
Adding the webhook handler
First, we'll add our own controller that will handle the Stripe events. Let's call it StripeWebhookController.
This controller will extend Cashier's WebhookController (or Spark, if you are using it) that already provide us with useful methods to handle Stripe events.
An implementation extending Cashier would look like this:
<?php

namespace App\Http\Controllers;

use Laravel\Cashier\Http\Controllers\WebhookController as CashierController;
use Symfony\Component\HttpFoundation\Response;

class StripeWebhookController extends CashierController
{
    /**
     * Handle customer subscription updated.
     *
     * @param  array  $payload
     * @return \Symfony\Component\HttpFoundation\Response
     */
    protected function handleCustomerSubscriptionUpdated(array $payload)
    {
        $customer = $payload['data']['object']['customer'];

        // handle the incoming event...

        return new Response('Webhook Handled', 200);
    }
}
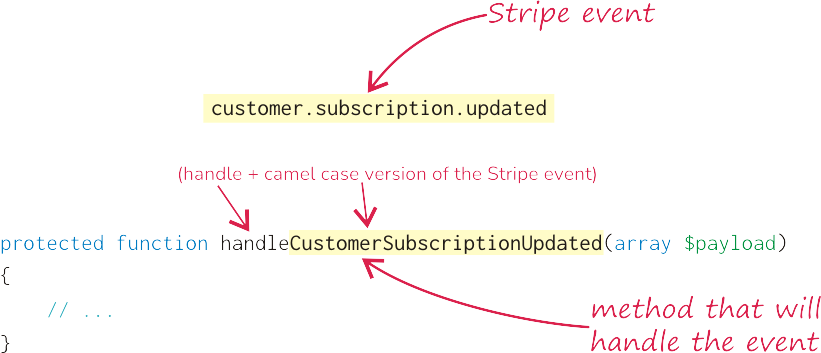
By extending Cashier's WebhookController we can handle Stripe events following this pattern to name the methods:
Camel case version of the Stripe event we want to handle, prefixed by the word
handle.
E.g.: the method handleCustomerSubscriptionUpdated(array $payload) will handle the customer.subscription.updated Stripe event.
All possible Stripe events are listed here.
Adding the webhook routes
By default, Cashier's webhook controller responds to the /stripe/webhook URL path, and Spark to /spark/webhook.
However, the route can be named whatever is suitable for you.
To use the webhooks/stripe route for our StripeWebhookController controller, add the following in your route/web.php file:
use App\Http\Controllers\StripeWebhookController;

Route::post('webhooks/stripe', 'StripeWebhookController@handleWebhook');
Cashier's handleWebhook method is the main entry point. This is the method's content:
/**
 * Handle a Stripe webhook call.
 *
 * @param  \Illuminate\Http\Request  $request
 * @return \Symfony\Component\HttpFoundation\Response
 */
public function handleWebhook(Request $request)
{
    $payload = json_decode($request->getContent(), true);
    $method = 'handle'.Str::studly(str_replace('.', '_', $payload['type']));

    WebhookReceived::dispatch($payload);

    if (method_exists($this, $method)) {
        $response = $this->{$method}($payload);

        WebhookHandled::dispatch($payload);

        return $response;
    }

    return $this->missingMethod($payload);
}
Disable CSRF for Stripe webhook URLs
Disable CSRF for Stripe webhook routes in the app/Http/Middleware/VerifyCsrfToken.php middleware:
protected $except = [
    'webhooks/stripe',
];
You can read more about it in the documentation here.
Setting up ngrok
Let's now set up our ngrok and try this out!
Download ngrok and follow the installation instructions for your OS:
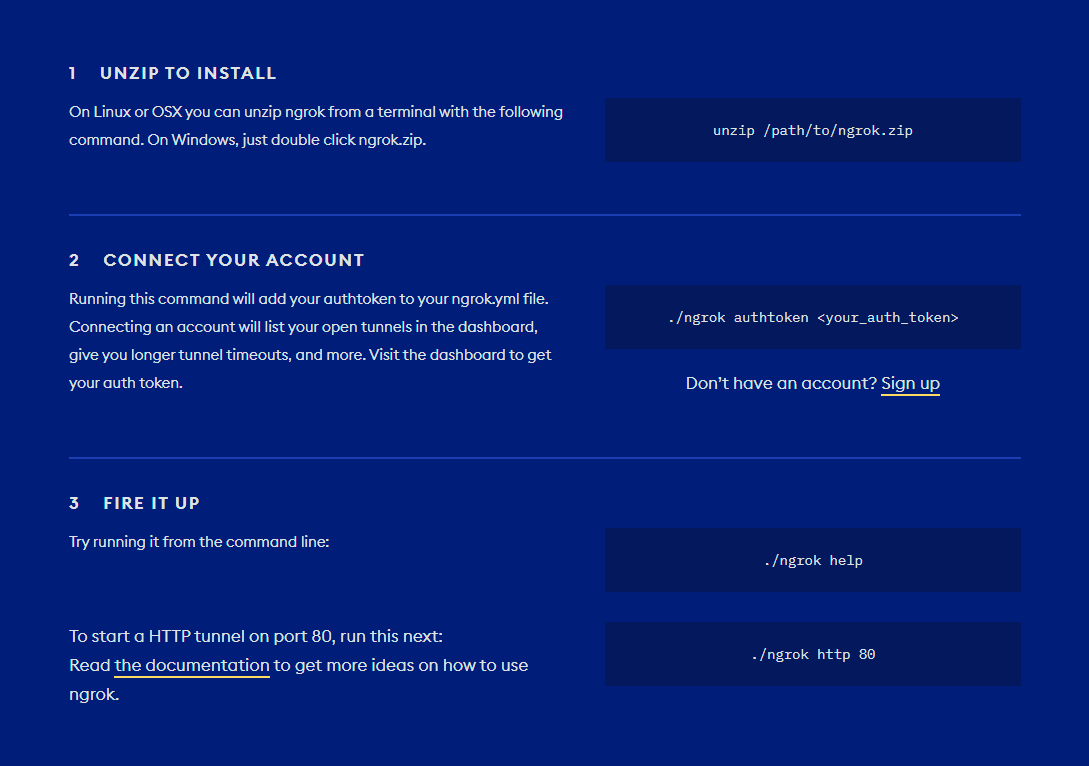
1. Unzip ngrok
2. Set up ngrok executable
On Linux:
On your terminal, copy ngrok to /usr/bin.
On Windows:
Execute ngrok.exe. It will open a new terminal.
3. Start a tunnel to your local app
Start a HTTP tunnel to your local application (you can specify your app URL - e.g. my-app.local - with the -host-header option), by running:
ngrok http 192.168.10.10 -host-header=my-app.local
The example above is for Homestead with the default IP (
192.168.10.10)
You should now see the HTTPs and HTTP ngrok public URLs to your local app in Forwarding.
They would look something like this:
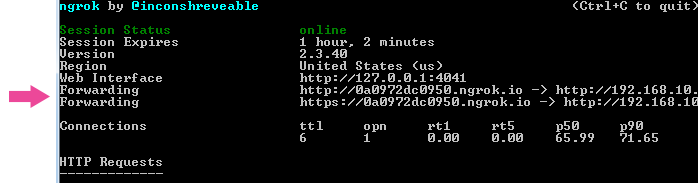
We need to add this public URL to the Stripe dashboard.
Copy the desired ngrok URL (https or http) appending the webhook route we added before (/webhooks/stripe) at the end, like this:
https://0a0972dc0950.ngrok.io/webhooks/stripe
This is our webhook URL.
Configuring the webhook on Stripe dashboard
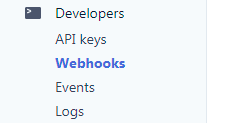
Let's go ahead and add our webhook URL to the Stripe dashboard:
On left menu, go to Developers > Webhooks.
Click on the Add endpoint button located on top right.

Add the webhook URL to the Endpoint URL field.
On Events to send select the events you want to handle, and click on Add endpoint.
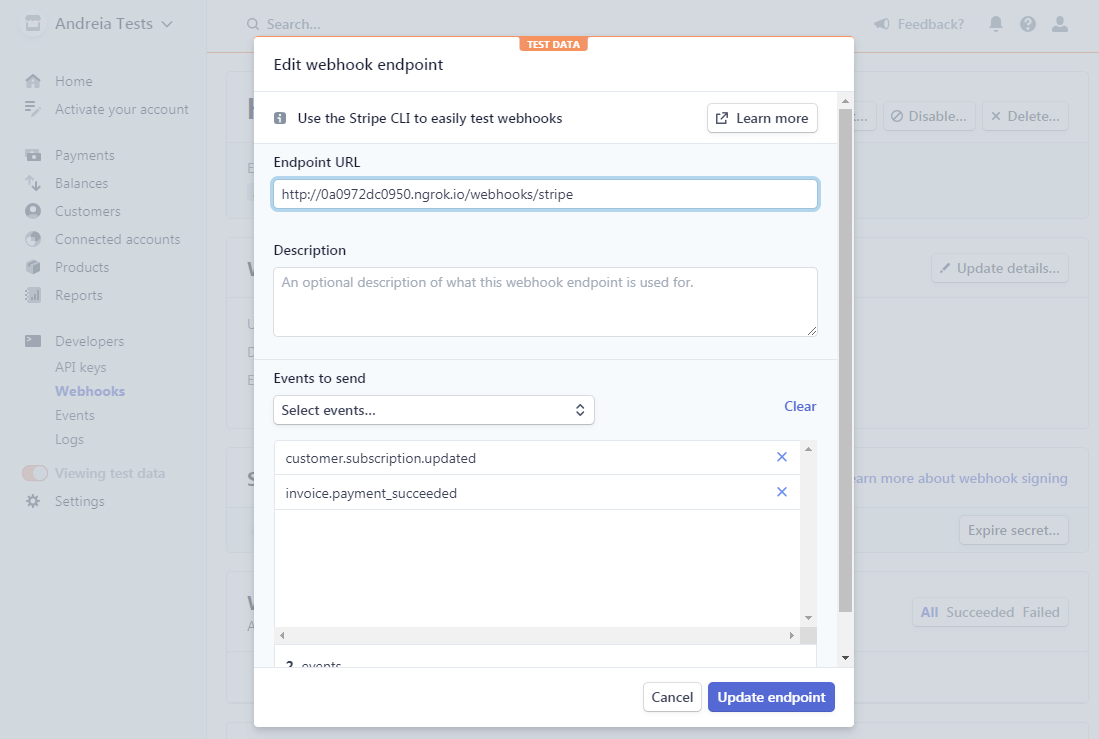
Copy the "Signing secret" value. It will be used in the next step below.
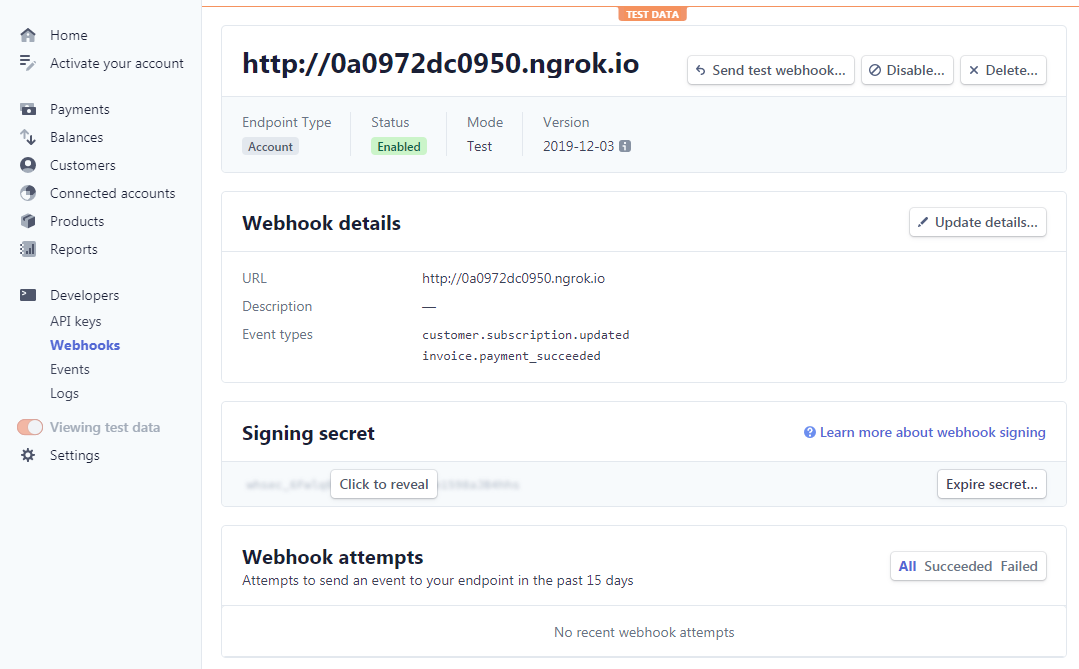
Adding the signing secret to our app
The remaining step is to update the STRIPE_WEBHOOK_SECRET env var with the value of "Signing secret" on the .env file.
E.g:
STRIPE_WEBHOOK_SECRET=whsec_2ARB5nXLZ87gTHv7mYDvIQylTq7qEniu
To update this config value run:
php artisan config:clear
That's it. You're now all set to play with webhooks locally :)
Update a Stripe subscription in your app and you'll see the webhook received on ngrok CLI and the code in your controller should be handled. You can also check the event on Stripe dashboard under "Webhook attempts" where you'll find detailed information, including the payload.
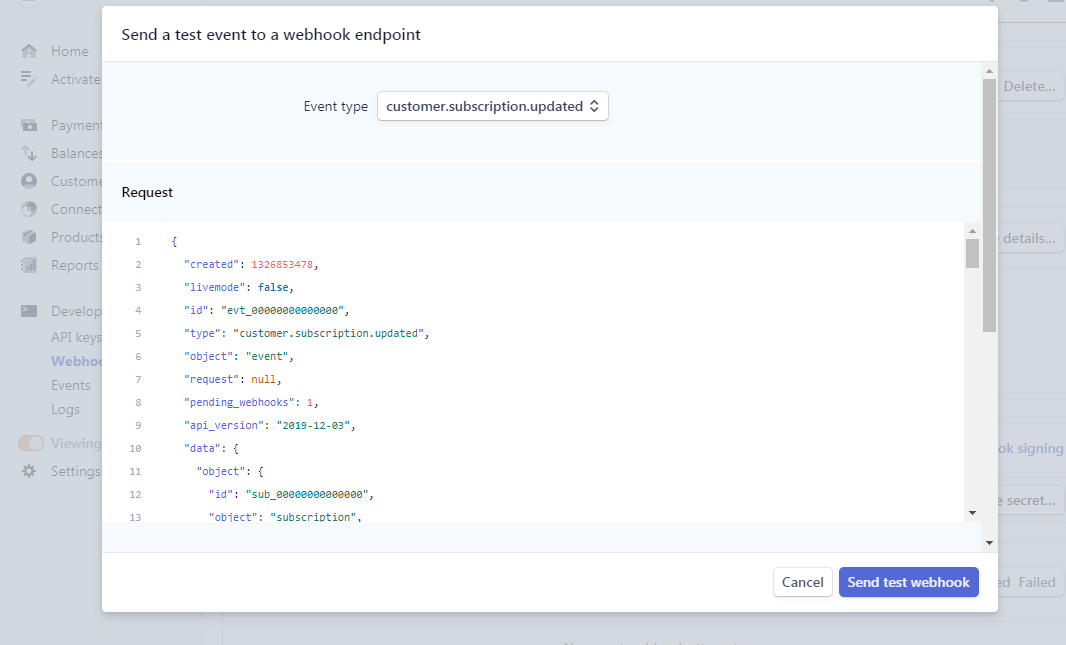
You can test the webhook on Stripe dashboard as well by clicking on the
Send test webhookbutton located on the top right (inDevelopers > Webhooks)
I'm happy to take any questions you have in the comments section below.